
Face & sinuses X-ray positioning
How to position for each of the 8 face & sinuses X-ray views: where the patient goes, where to centre, which receptor and distance to use, and what a good image looks like.
By the ScanFlo Editorial Team · Updated
In this section · X-ray positioning
- X-ray positioning guides
- Skull positioning
- Face & sinuses positioning
- Soft tissue neck positioning
- C-spine positioning
- Chest positioning
- Shoulder positioning
- Humerus positioning
- Elbow positioning
- Forearm positioning
- Wrist positioning
- Hand positioning
- T-spine positioning
- Abdomen positioning
- L-spine positioning
- Sacrum & SI joints positioning
- Pelvis positioning
- Hip positioning
- Femur positioning
- Knee positioning
- Tibia & fibula positioning
- Ankle positioning
- Foot positioning
X-ray positioning/Face & sinuses
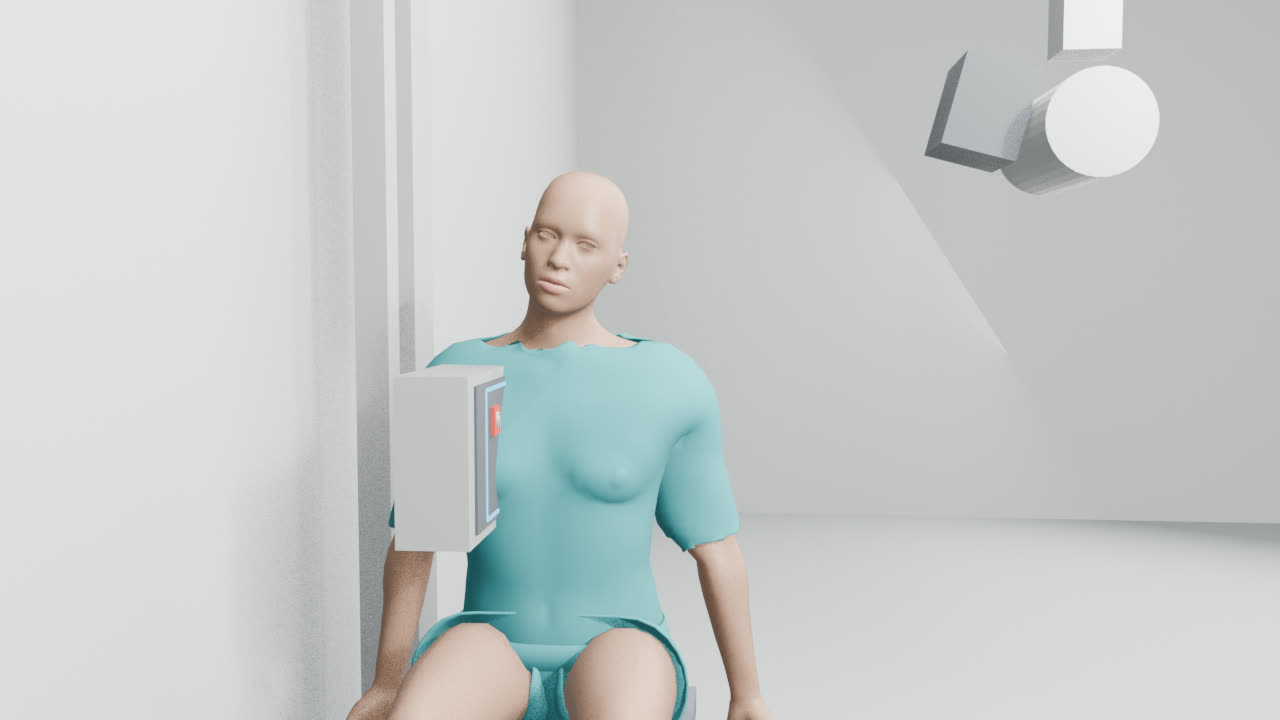
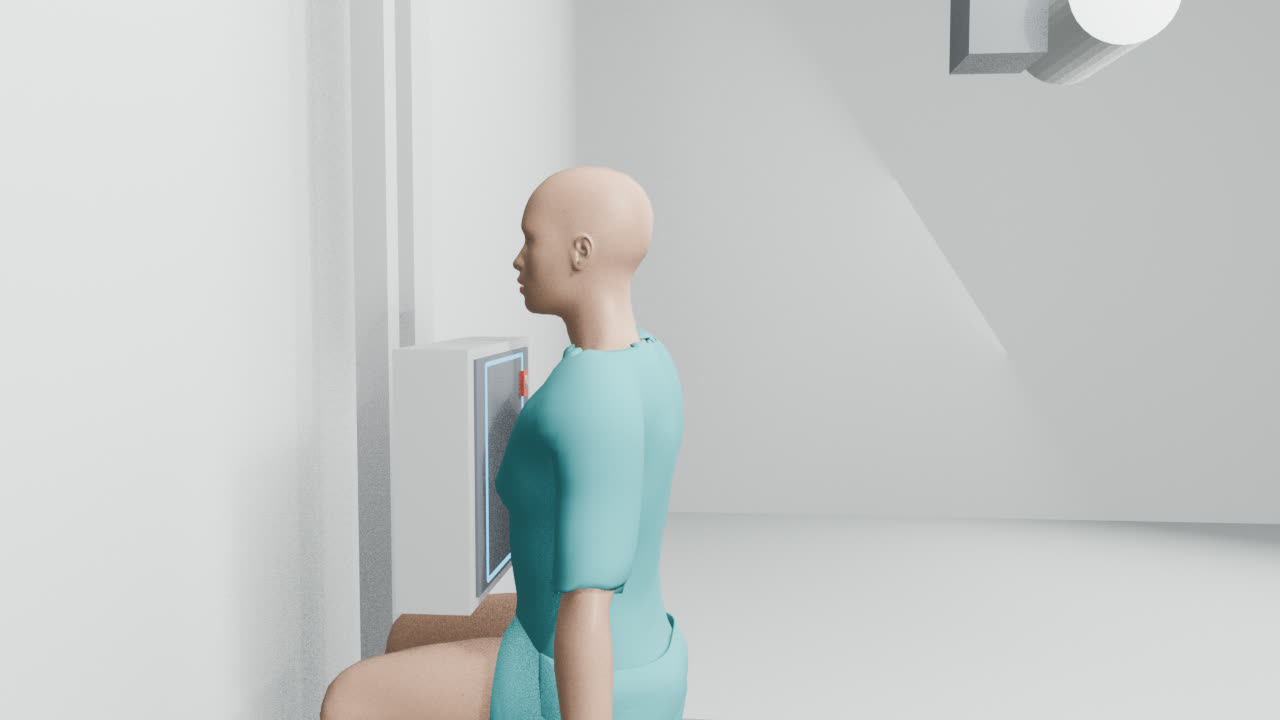
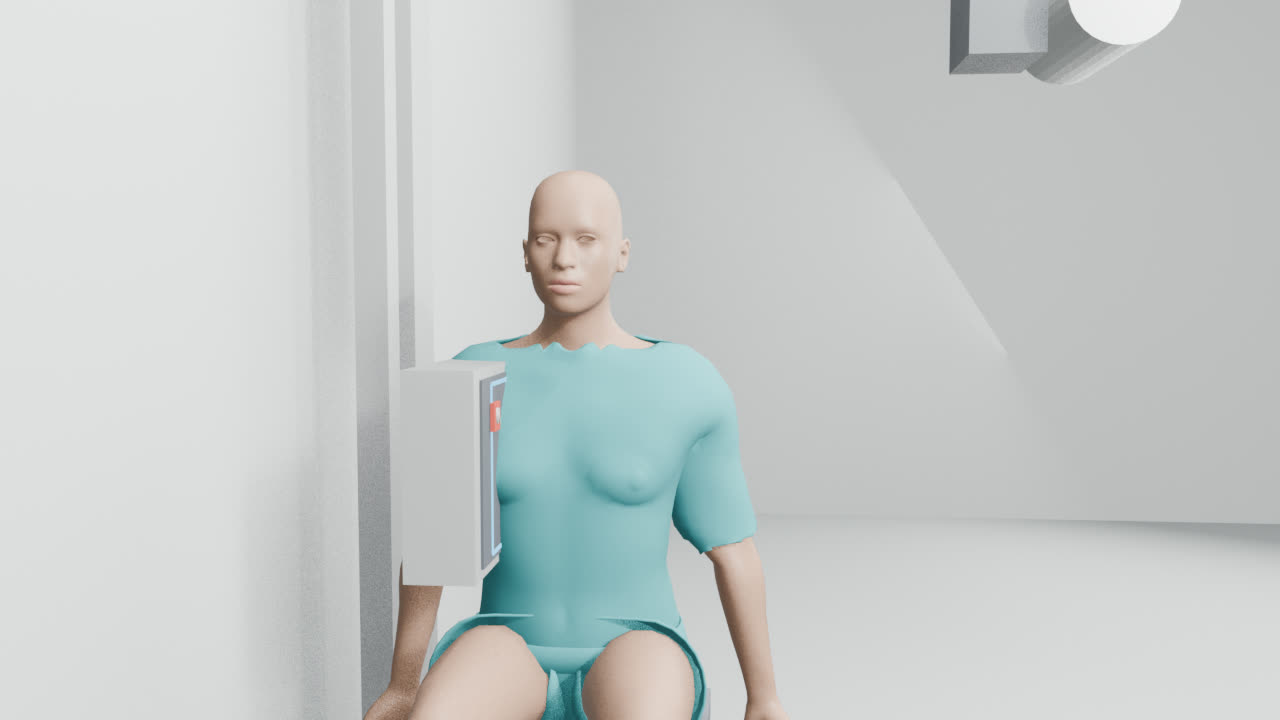
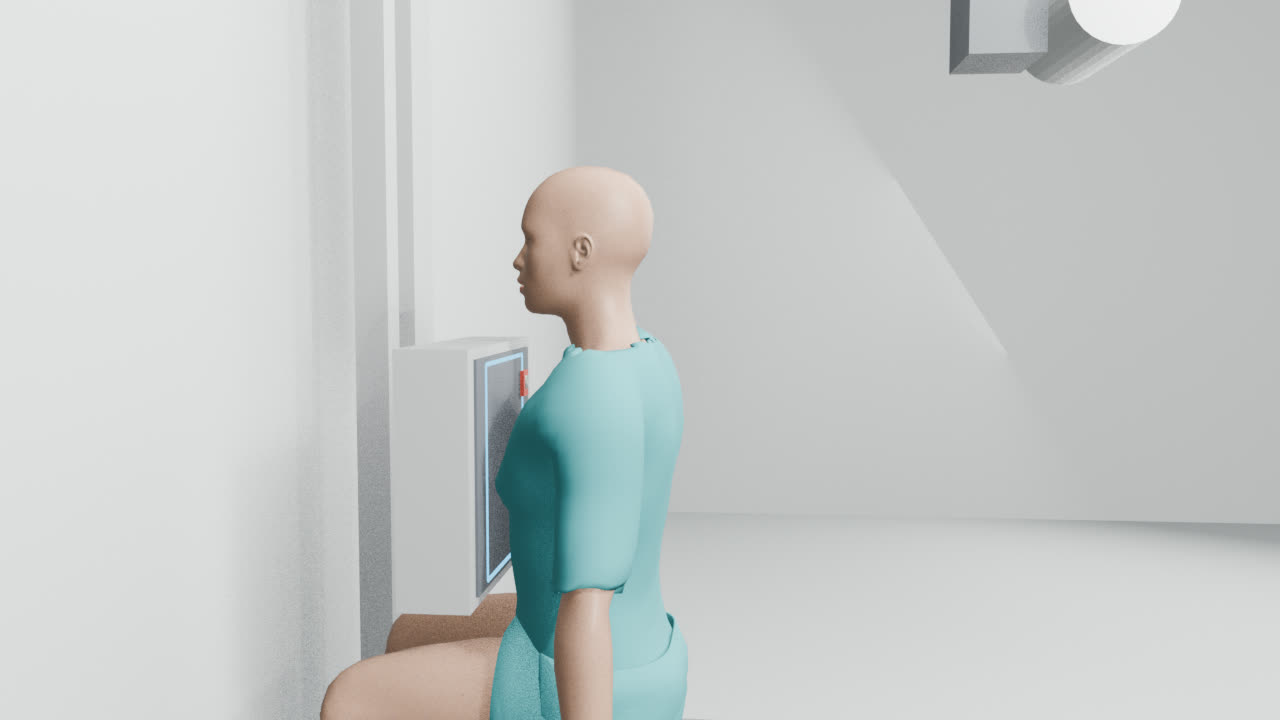
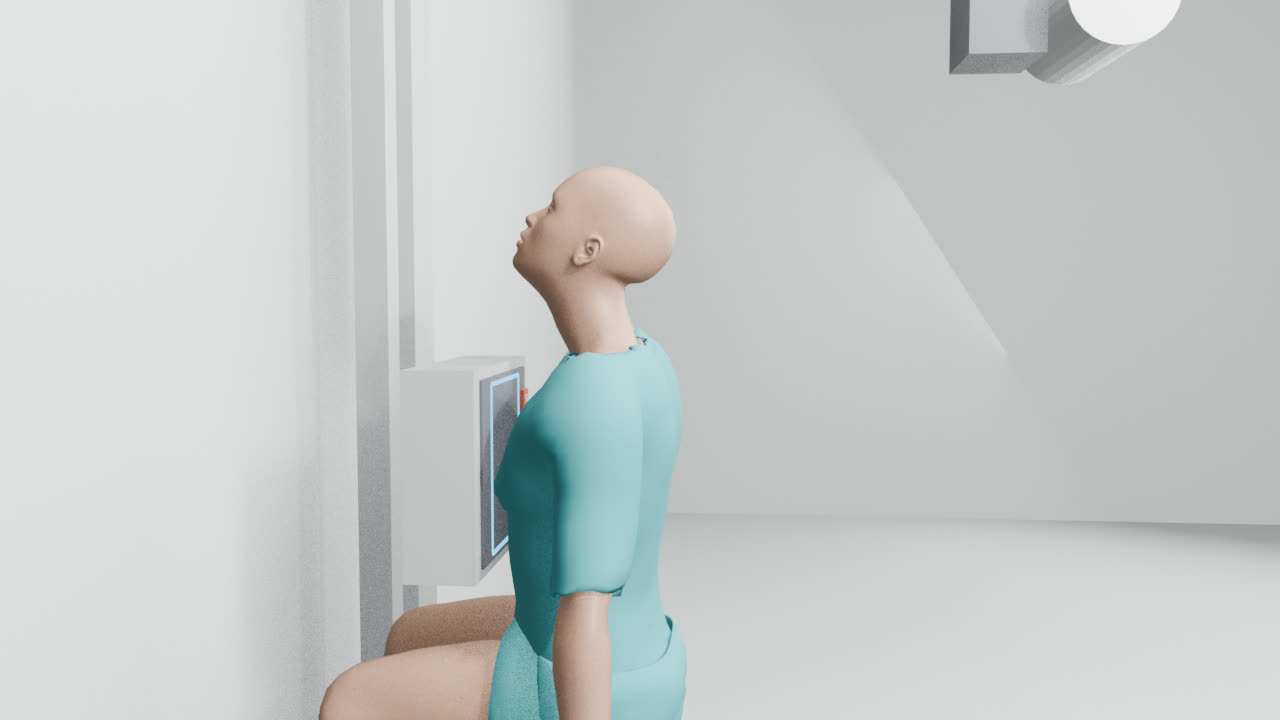
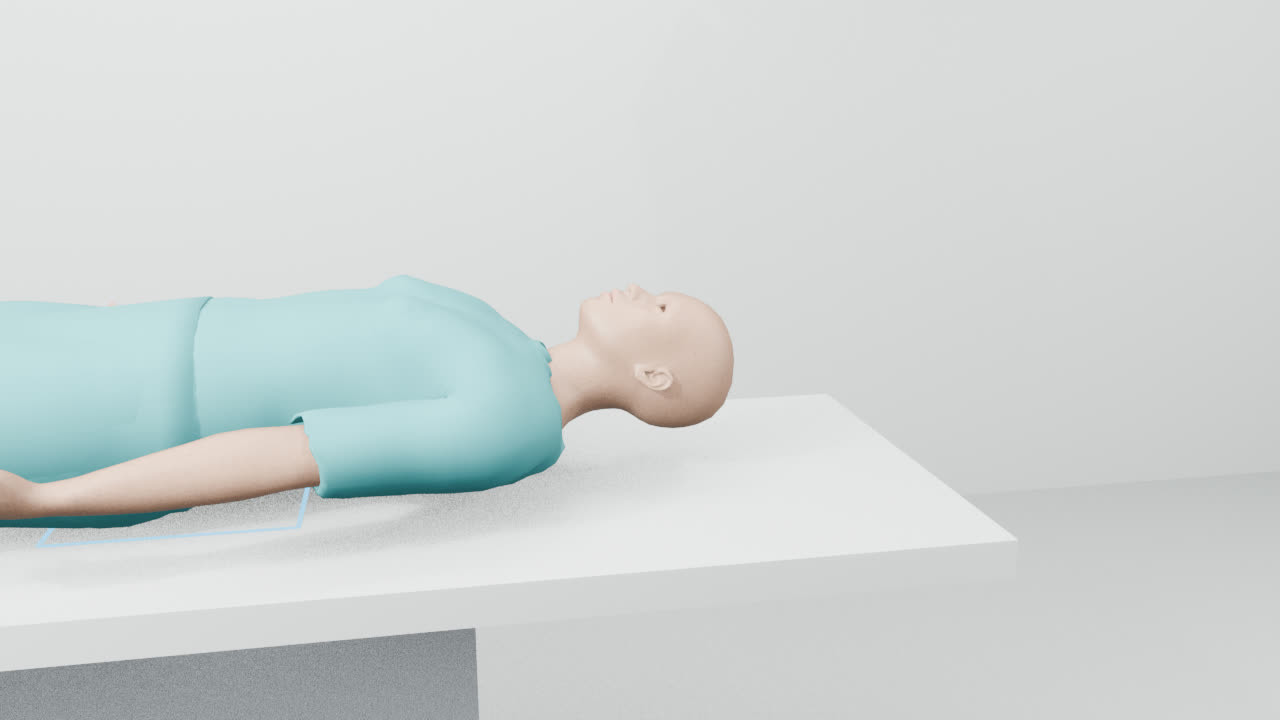
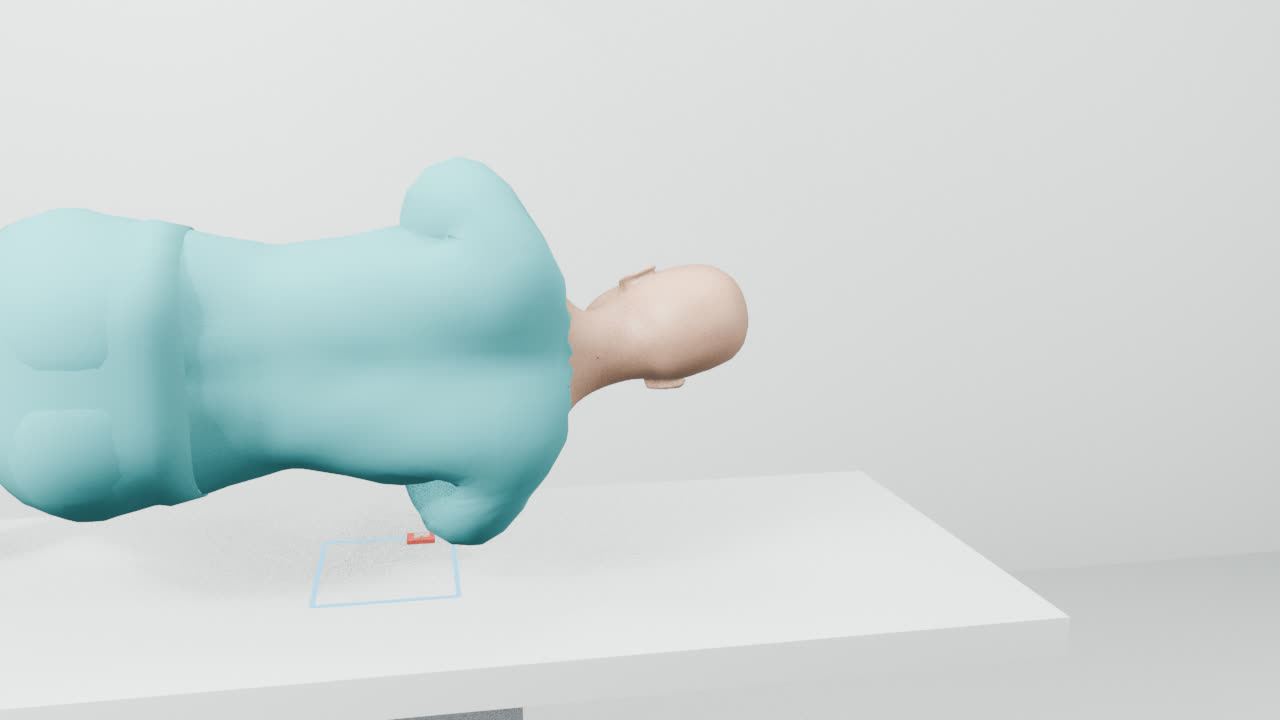
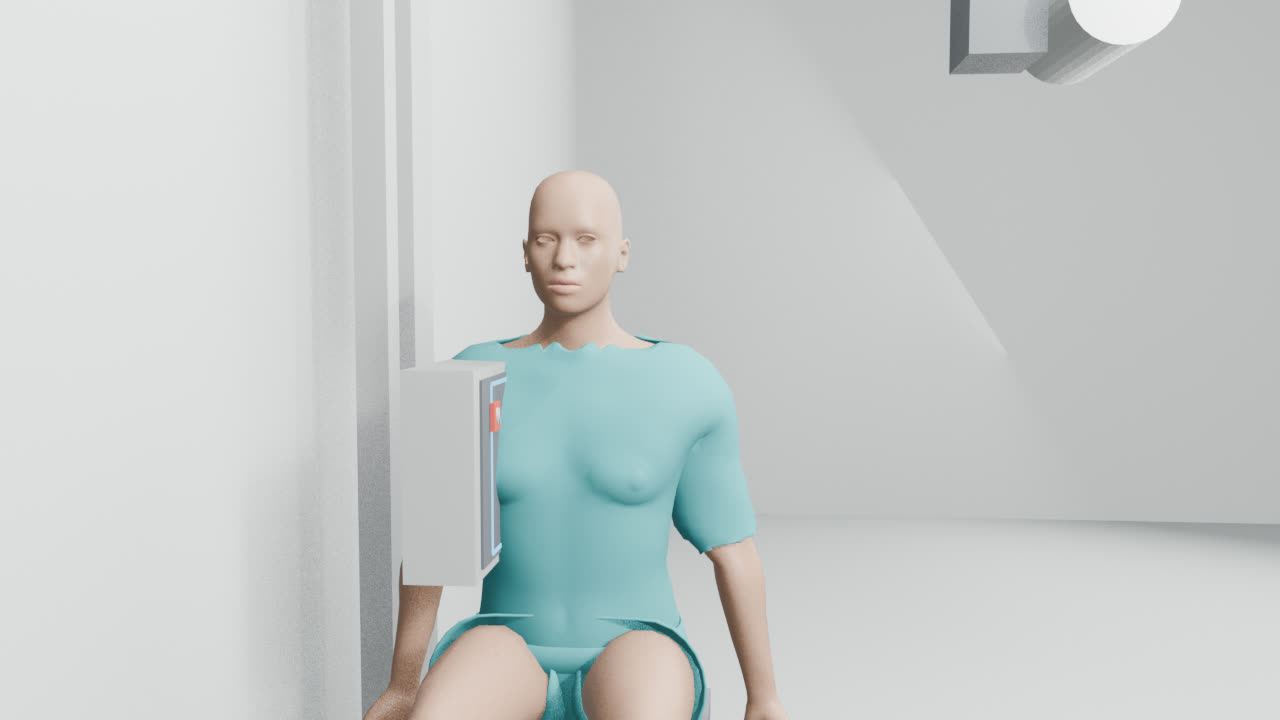
The routine face & sinuses views are Mandible oblique lateral, Mandible PA, Nasal bones lateral, Sinuses and face PA and Sinuses and face semiaxial (occipitomental). Mandible AP, Mandible oblique lateral (lying) and Sinuses and face lateral come in when you need to answer a particular question, or when the patient can't manage a routine view. Each guide walks you through the set-up step by step, with a short video, exposure settings for different patient sizes and what a good image should show.
A radiographer is still checking these guides.
Routine views
Extra views
All views in this region
- Mandible oblique lateral
- Mandible PA
- Nasal bones lateral
- Sinuses and face PA
- Sinuses and face semiaxial (occipitomental)
- Mandible AP
- Mandible oblique lateral (lying)
- Sinuses and face lateral
Quick reference
Where to centre, how far and which receptor, for every face & sinuses view at a glance. Open a guide for the full set-up.
| Projection | Centre on | SID | Receptor | Breathing |
|---|---|---|---|---|
| Mandible oblique lateral | the angle of the mandible of the side examined | 100 cm | 18×24 landscape, grid | No breathing instruction needed |
| Mandible PA | the angles of the mandible, midline | 100 cm | 24×30 portrait, grid | No breathing instruction needed |
| Nasal bones lateral | the nasal bones | 100 cm | 18×24 portrait, grid | No breathing instruction needed |
| Sinuses and face PA | the nasion | 100 cm | 24×30 portrait, grid | No breathing instruction needed |
| Sinuses and face semiaxial (occipitomental) | the acanthion | 100 cm | 18×24 portrait, grid | No breathing instruction needed |
| Mandible AP | the lips, midline | 100 cm | 24×30 portrait, grid | No breathing instruction needed |
| Mandible oblique lateral (lying) | the angle of the mandible | 100 cm | 18×24 landscape, grid | No breathing instruction needed |
| Sinuses and face lateral | the outer canthus, 2 cm posterior | 100 cm | 18×24 portrait, grid | No breathing instruction needed |
Mistakes that lead to repeats
- Two sides superimposed on the mandible oblique lateral: angle 15° and tilt the head.
- Rami asymmetric on the mandible PA: centre the mid-sagittal plane.
- Nasal bones burnt out on the nasal bones lateral: use the low-kV nasal technique and collimate tightly.
- Rotation on the sinuses and face PA: align the mid-sagittal plane with the bucky centre.
- Petrous ridges over the maxillary sinuses on the sinuses and face semiaxial (occipitomental): raise the chin to 45°.
- Condyles hidden on the mandible AP: open the mouth; use a wedge.
Common questions
- Which face & sinuses views are routine?
- Usually Mandible oblique lateral, Mandible PA, Nasal bones lateral, Sinuses and face PA and Sinuses and face semiaxial (occipitomental).
- What distance (SID) do face & sinuses X-rays use?
- 100 cm for every face & sinuses view here.
- Do face & sinuses X-rays need a grid?
- Yes, every view here is taken with a grid.
Try it in ScanFlo: the ScanFlo XR X-ray Room, coming soon, lets you set up every face & sinuses projection in a 3D room and score your positioning. See ScanFlo XR →