
ScanFlo XR
Launching soonThe X-ray positioning simulator, from positioning to film.
Position the patient, choose the detector, collimate, set kV, mAs and SID, expose and read the exposure index, then process and film the image. The decisions a radiographer makes at every digital radiography exam, with their consequences on screen.
Coverage
What learners can drive
- Position the patient in a 3D X-ray room with a CR cassette or DR flat panel; every set-up is scored. Step-by-step X-ray positioning guides for 127 projections are free in Resources
- Wall stand, table or portable detector, with the starting SID that goes with each
- Close the field to the anatomy before you expose
- Set kV, mAs and SID, expose, change one and expose again to see what it did
- Every image comes back with its exposure index, so under- and overexposure are read from a number, not only by eye
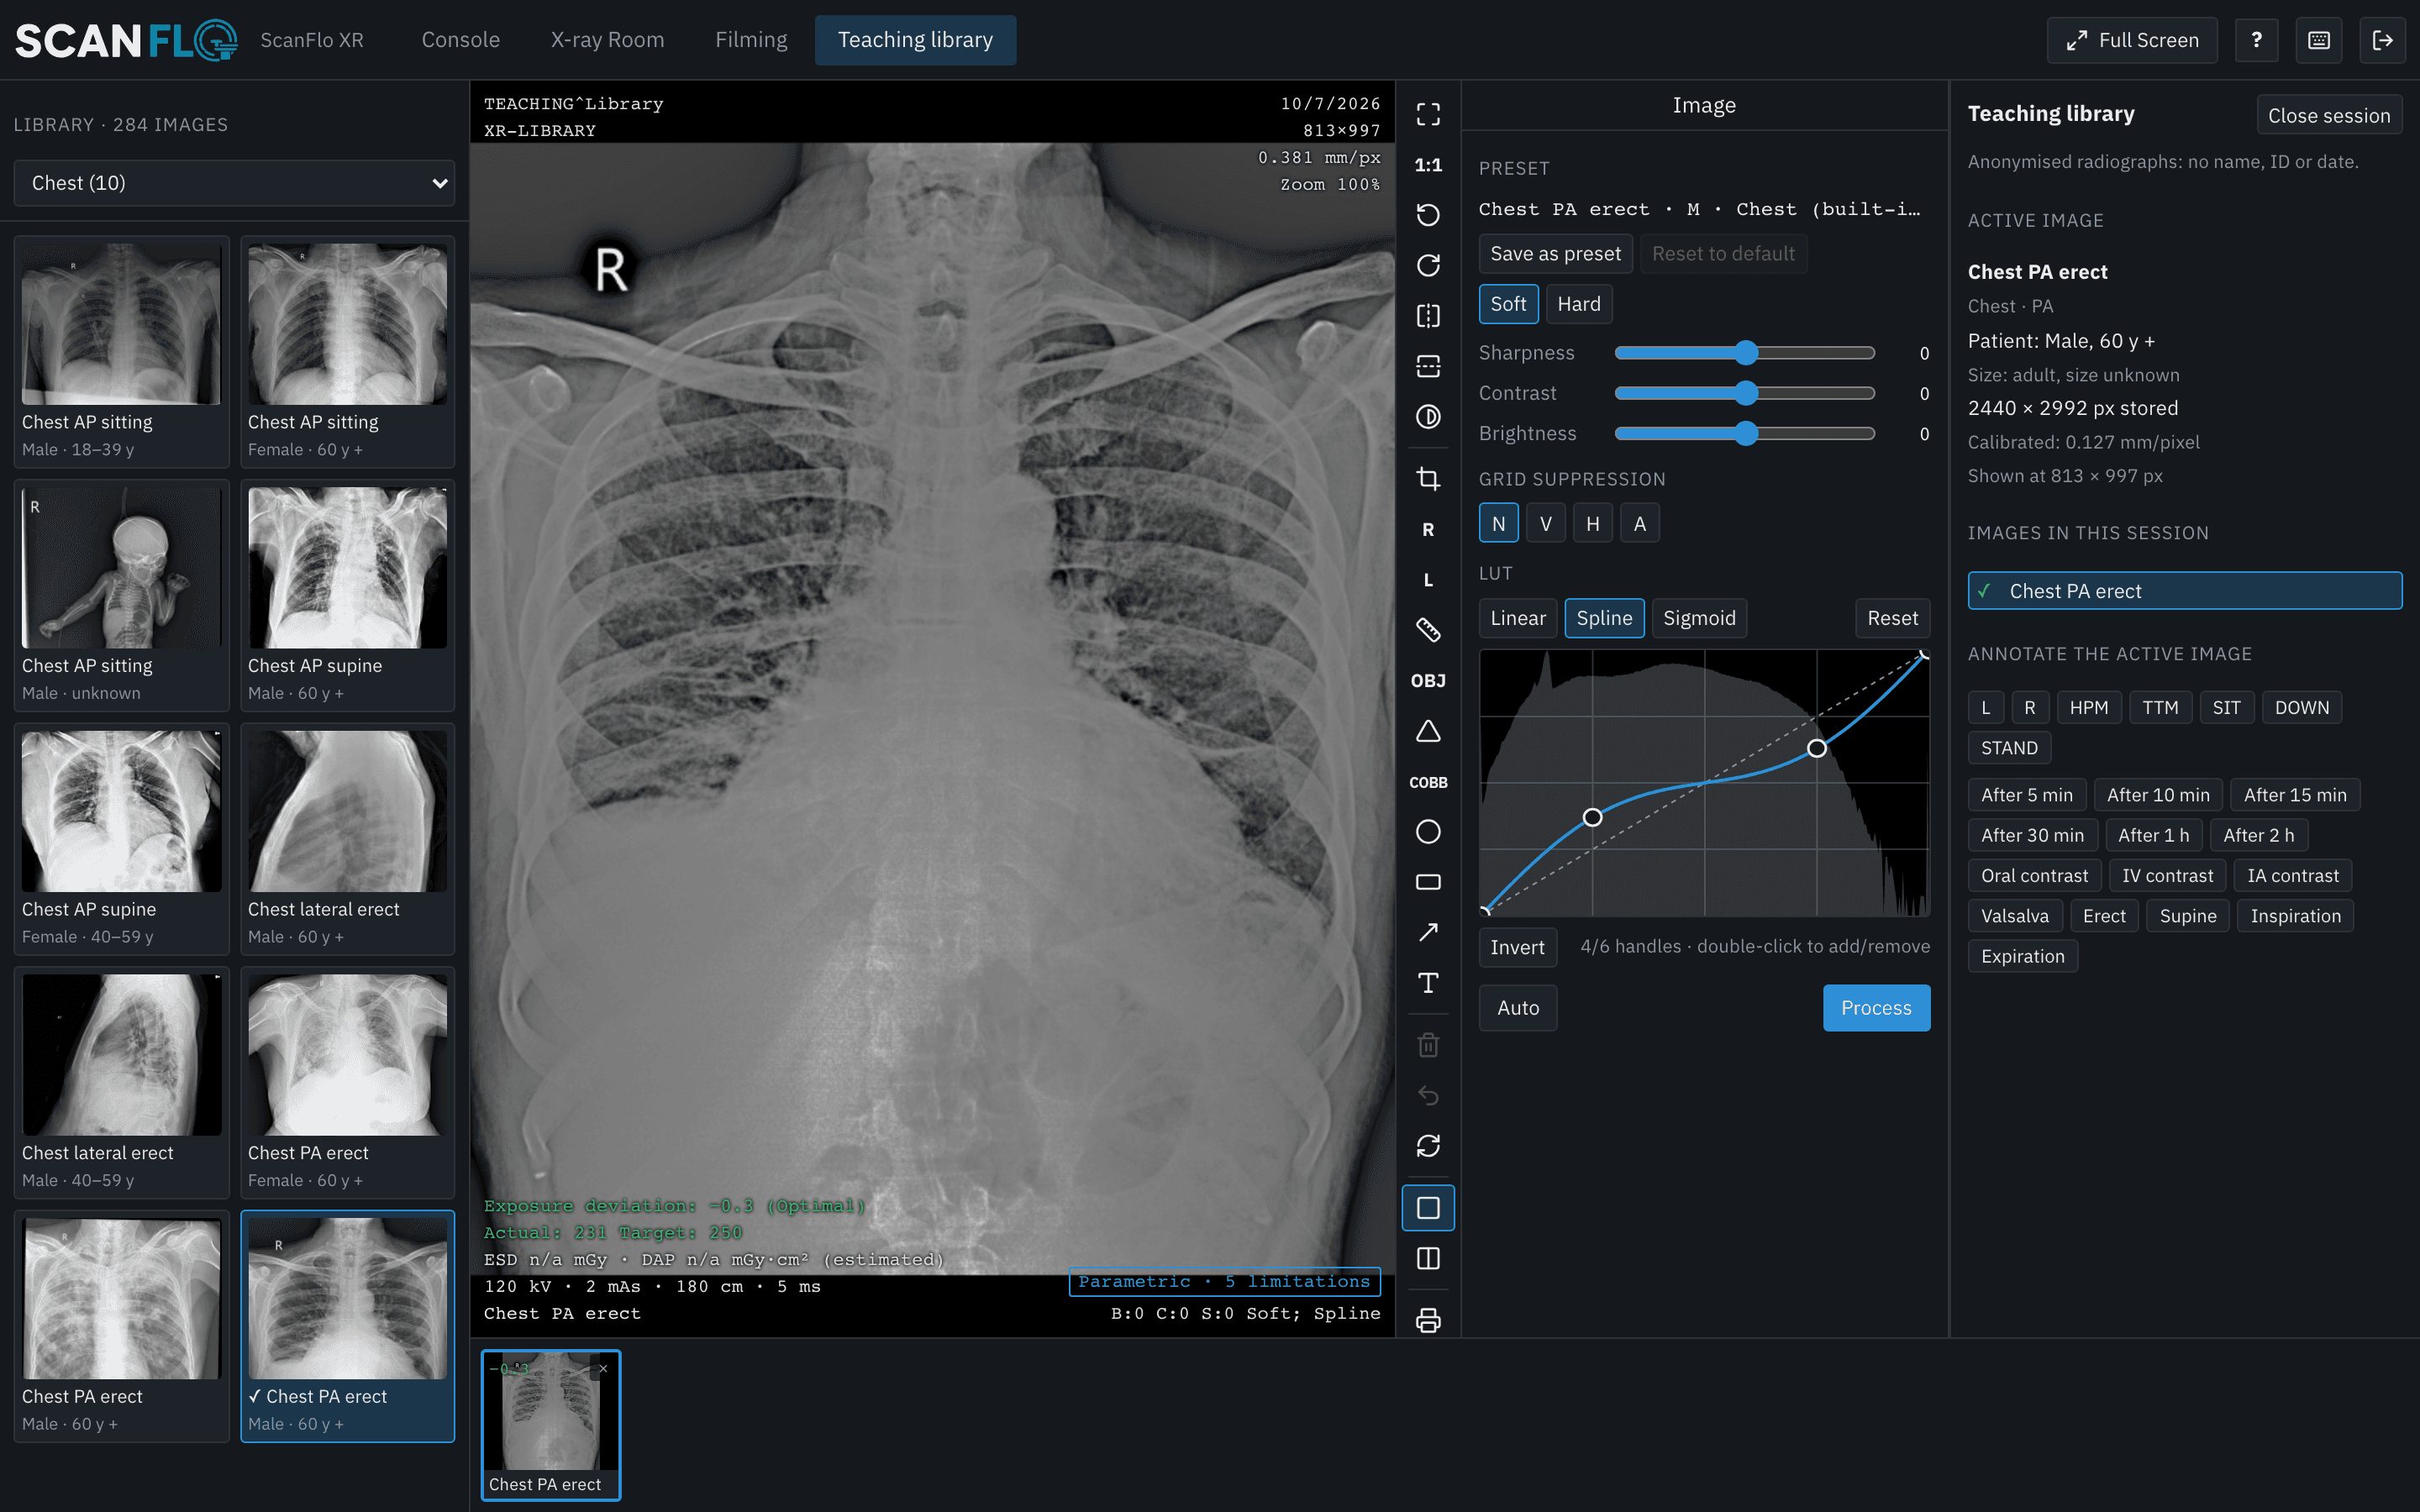
- Adjust processing and window, add markers and measure, as at the acquisition station
- Browse and open radiographs by body region in the viewer
- Lay the finished images out on film, then print or export the study (Student Pro)
Before the exposure
Position, detector, collimation.
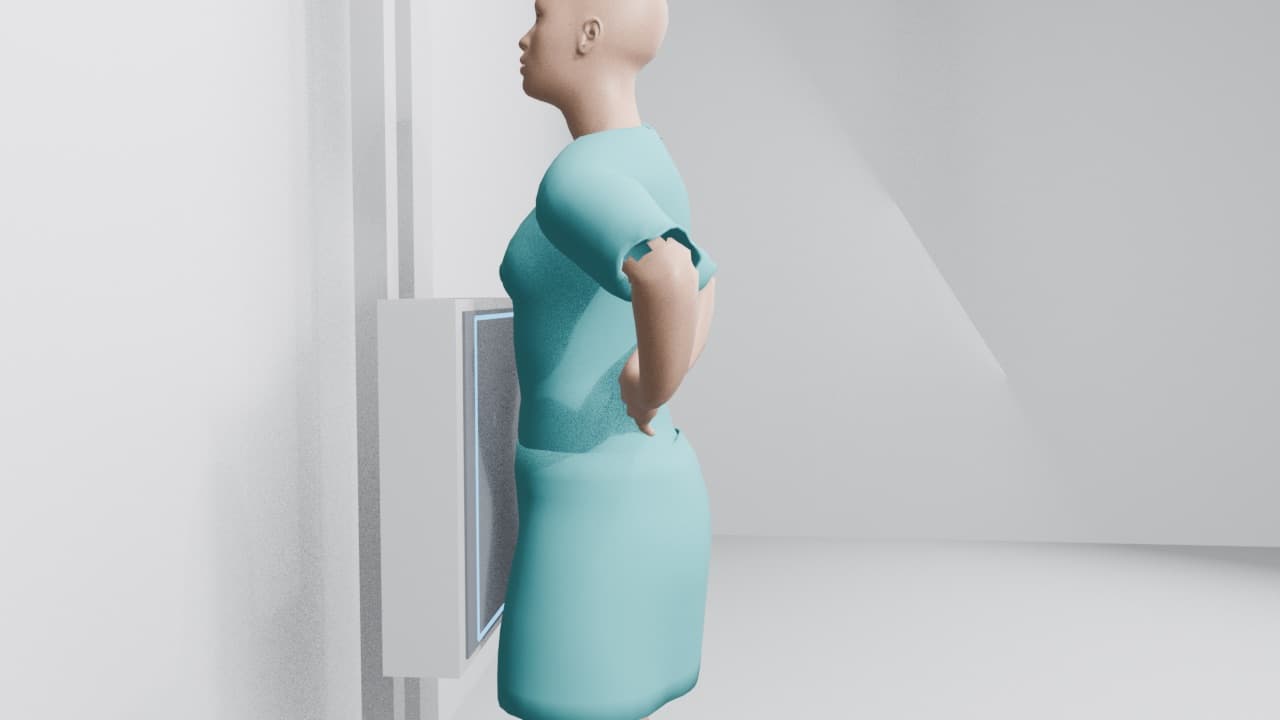
Most repeat exposures start before the button is pressed. Each projection has a positioning video showing how the patient stands, sits or lies, where the beam is centred and which marker goes where. Then the learner picks the detector and closes the field to the anatomy.
- Positioning videos for 127 projections
- Wall stand, table or portable detector
- Starting SID set by the detector you choose
- Collimate to the anatomy before you expose
Physics by doing
Every image has an exposure index.
Set kV, mAs and SID, expose, and read the exposure index on the image. Change one factor and expose again: the number and the image move together, which is how a radiographer learns what each factor does instead of memorising a chart.
- 01kV, mAs and SID on the technique panel
- 02Exposure index on every image
- 03Change one factor at a time and compare
After the exposure
Process it, then film it.
Adjust the processing and the window, add markers and measure, then lay the images out on film and print or export the study. Filming, print and export are in Student Pro; the workstation and the image library are in both plans.
- 01Processing, window, markers and measurements
- 02An image library to browse by body region
- 03Filming, print and export in Student Pro
Try it on the console yourself.
FAQ
Frequently asked questions
Is ScanFlo XR available now?
Not yet. ScanFlo XR is launching soon. Its plans and prices are already published on the pricing page, and you can ask us to tell you the day it opens. ScanFlo MRI, CT, PET-CT, Anatomy and RadPath are available today.
What is the difference between Student and Student Pro?
Student includes the X-ray workstation (positioning, detector, collimation, kV, mAs and SID, exposure index, processing) and the image library. Student Pro adds filming, print and export.
What do the positioning videos show?
One video per projection, 127 in all: how the patient is placed, where the beam is centred, the beam direction and the marker. The patients in them are rendered figures, not real people.
Is ScanFlo XR a clinical system?
No. ScanFlo XR is a training simulator for students and radiographers. It is not a medical device and is not for clinical or diagnostic use.
Start today
ScanFlo XR is launching soon.
The plans and prices are published. MRI, CT, PET-CT, Anatomy and RadPath are available today.