
C-spine X-ray positioning
How to position for each of the 9 C-spine X-ray views: where the patient goes, where to centre, which receptor and distance to use, and what a good image looks like.
By the ScanFlo Editorial Team · Updated
In this section · X-ray positioning
- X-ray positioning guides
- Skull positioning
- Face & sinuses positioning
- Soft tissue neck positioning
- C-spine positioning
- Chest positioning
- Shoulder positioning
- Humerus positioning
- Elbow positioning
- Forearm positioning
- Wrist positioning
- Hand positioning
- T-spine positioning
- Abdomen positioning
- L-spine positioning
- Sacrum & SI joints positioning
- Pelvis positioning
- Hip positioning
- Femur positioning
- Knee positioning
- Tibia & fibula positioning
- Ankle positioning
- Foot positioning
X-ray positioning/C-spine
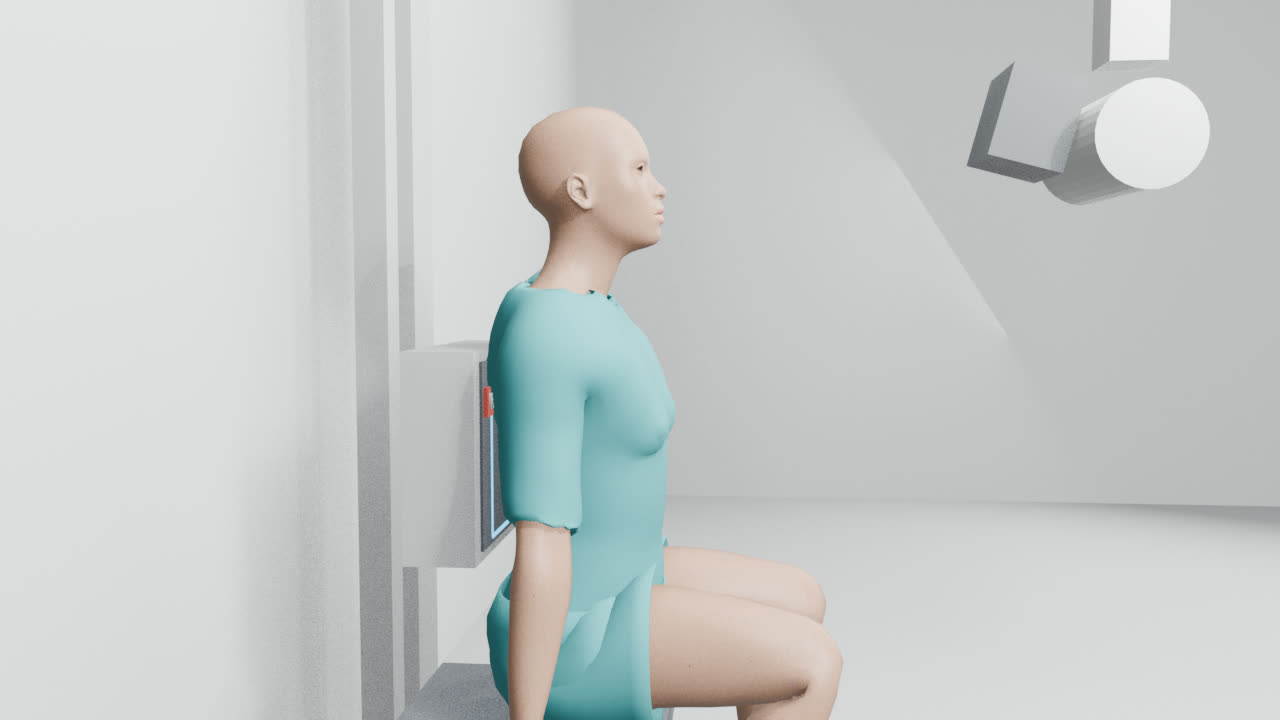
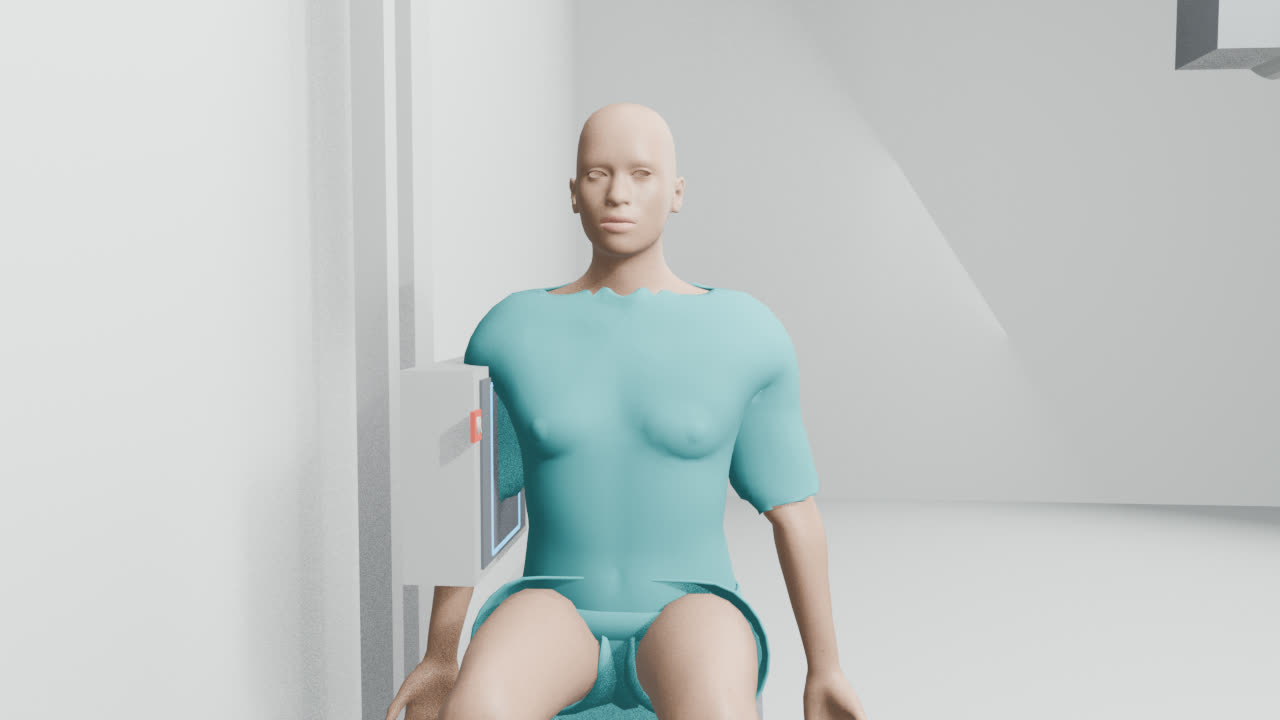
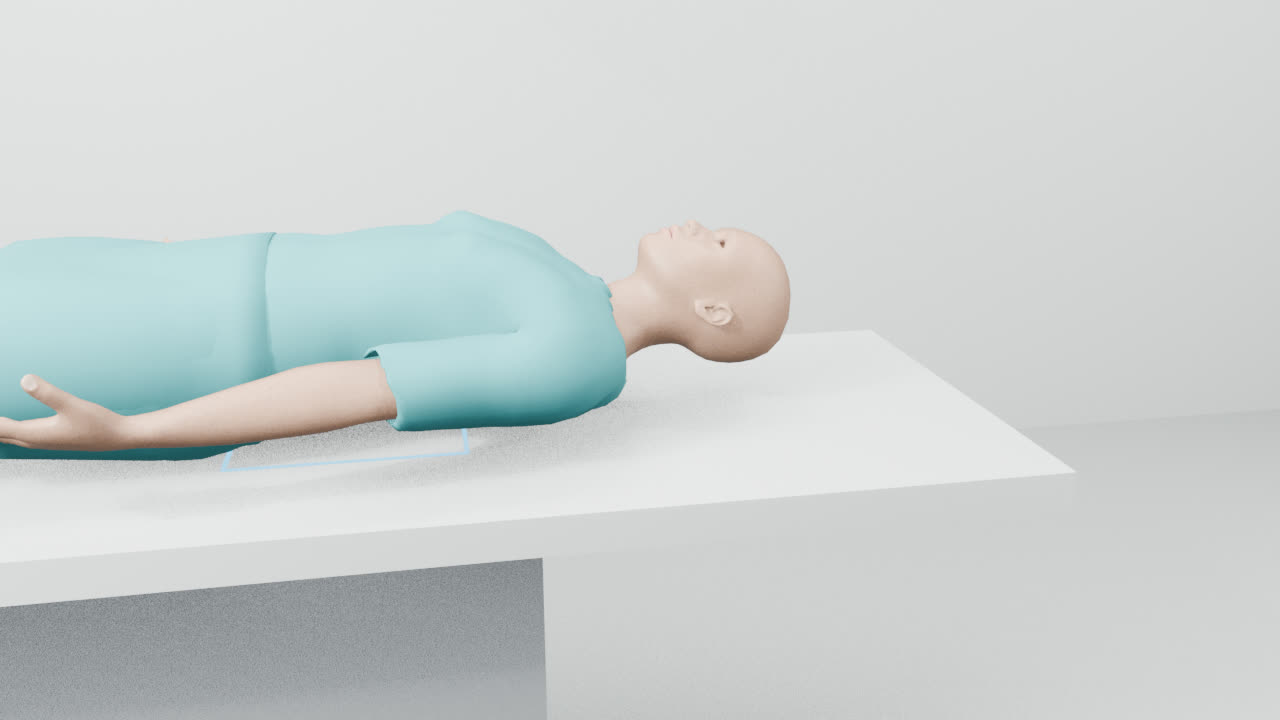
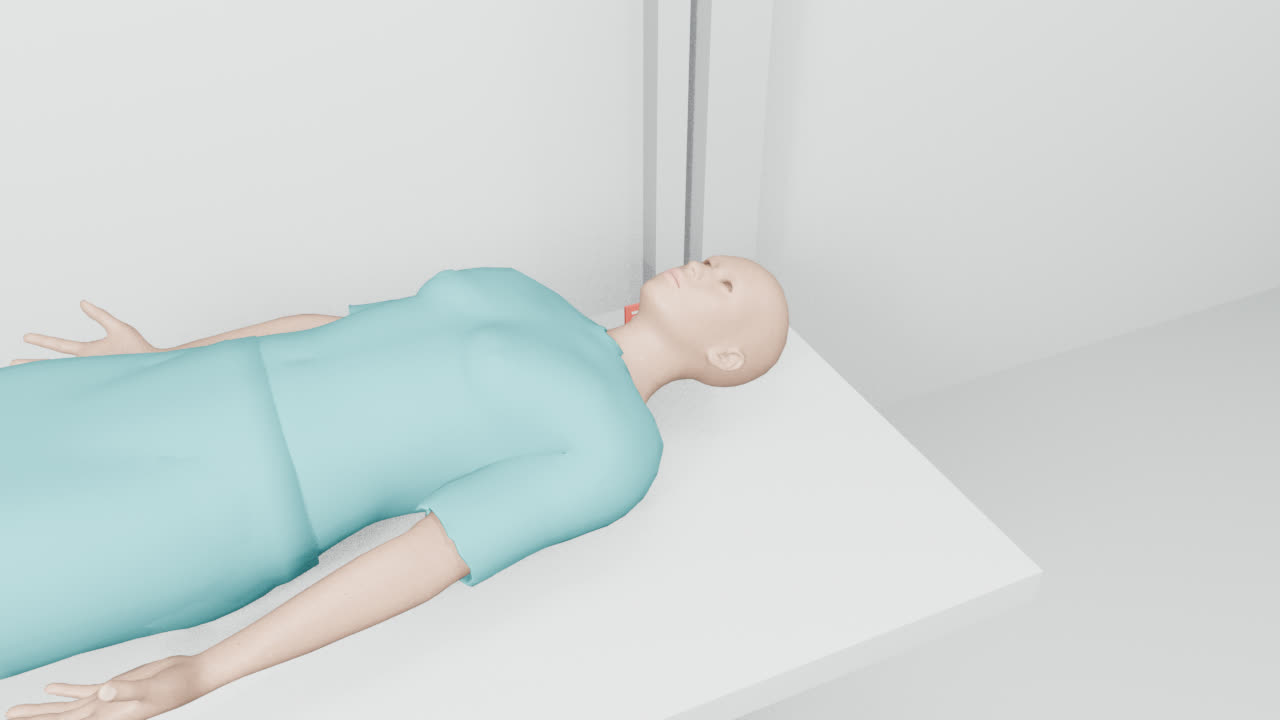
The routine C-spine views are Cervical spine AP and Cervical spine lateral. Cervical spine AP (after injury), Cervical spine lateral (after injury), Cervical spine lateral in extension, Cervical spine lateral in flexion, Cervical spine oblique, Cervicothoracic lateral (swimmer's) and Odontoid (open mouth) come in when you need to answer a particular question, or when the patient can't manage a routine view. Each guide walks you through the set-up step by step, with a short video, exposure settings for different patient sizes and what a good image should show.
A radiographer is still checking these guides.
Routine views
Extra views
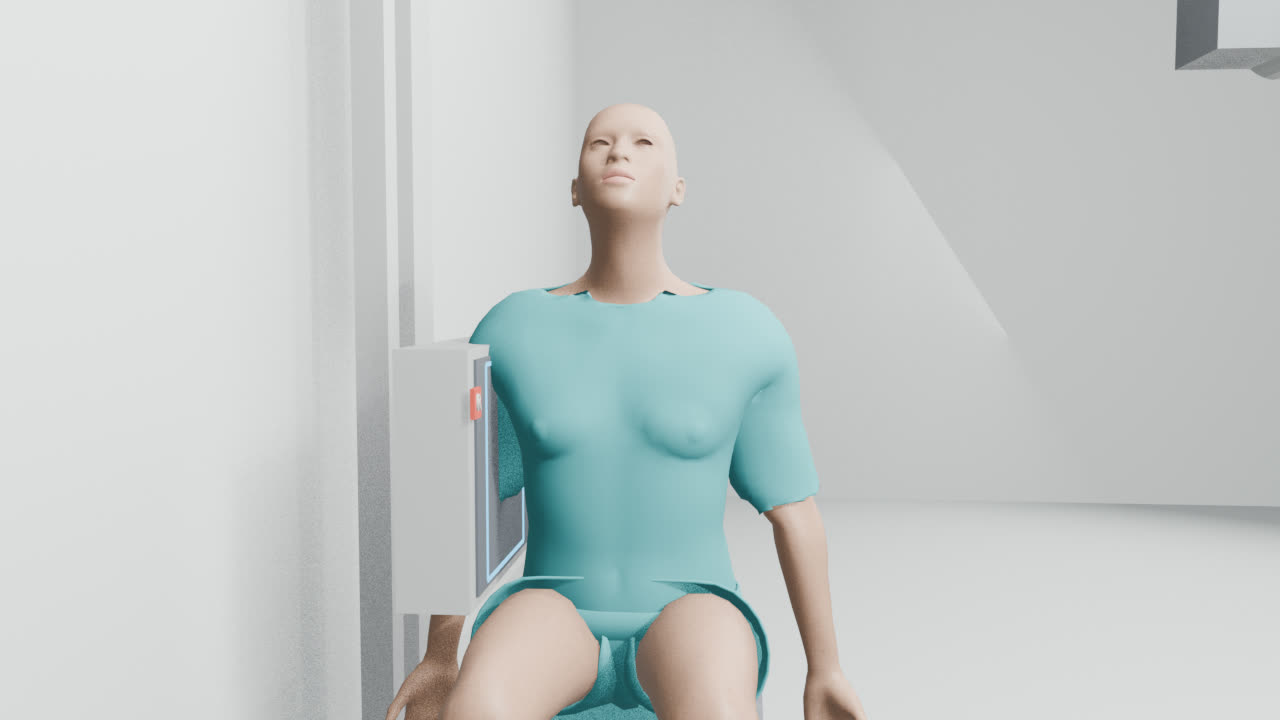
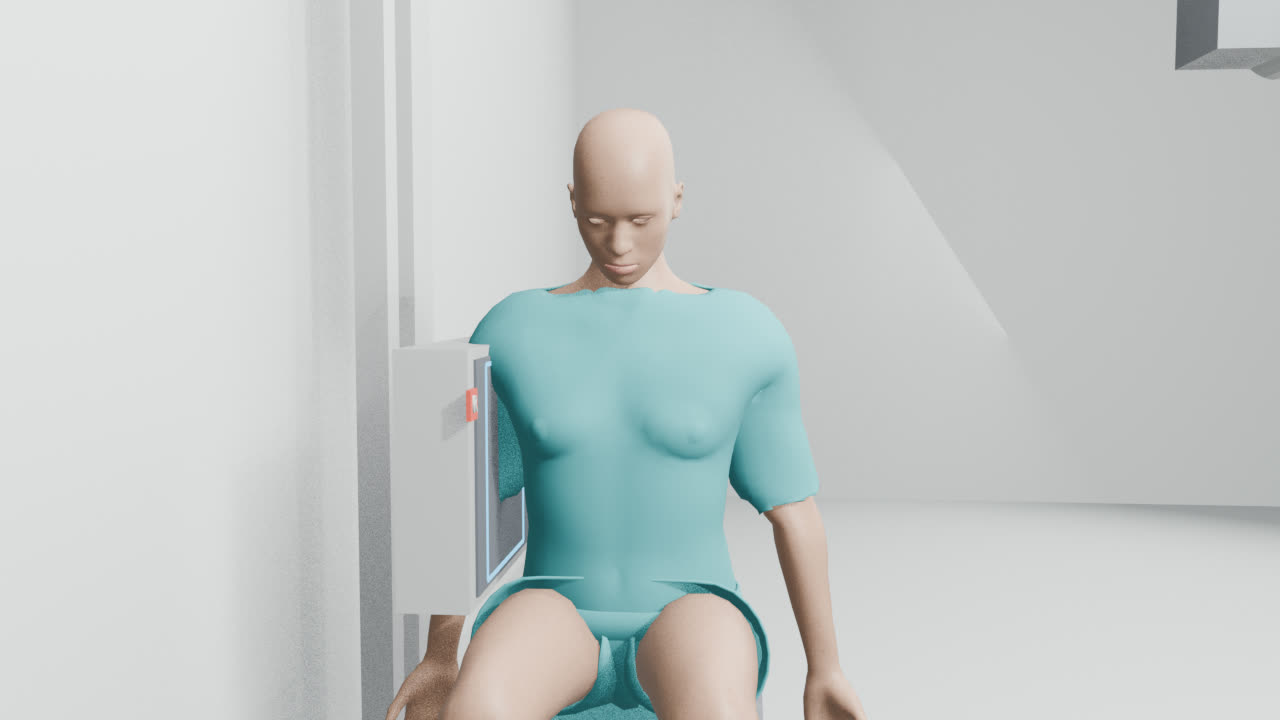
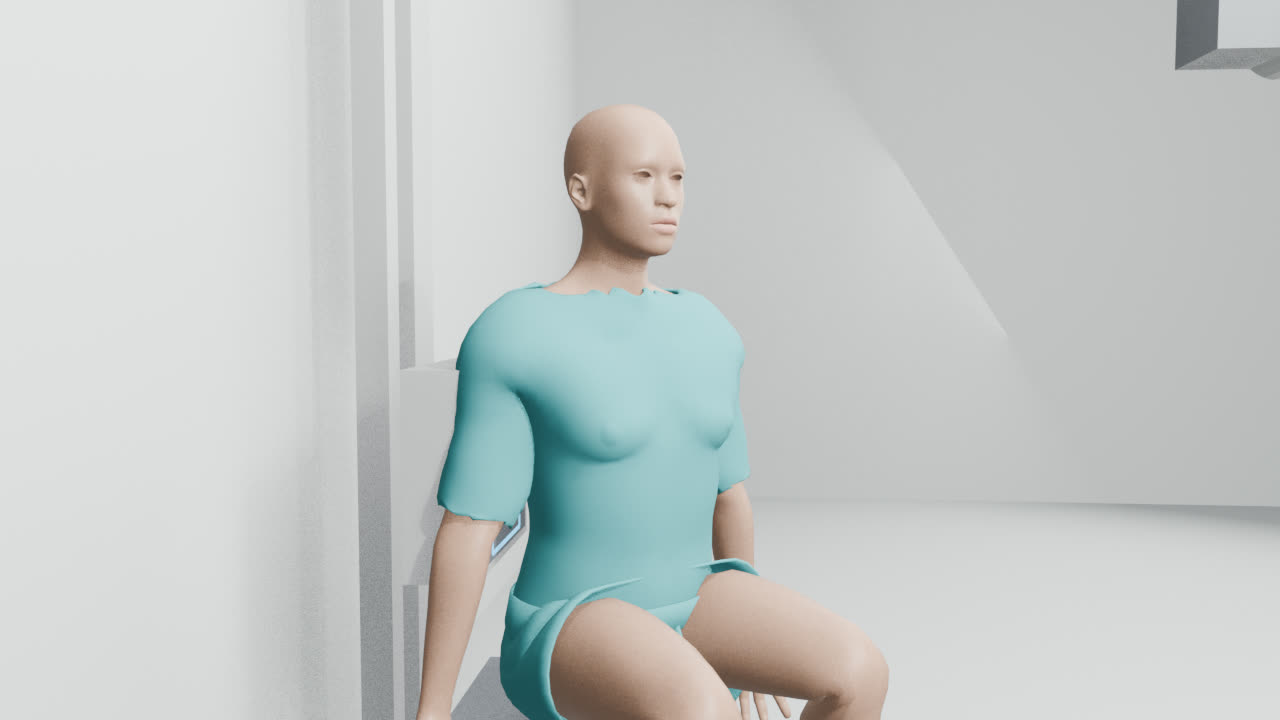
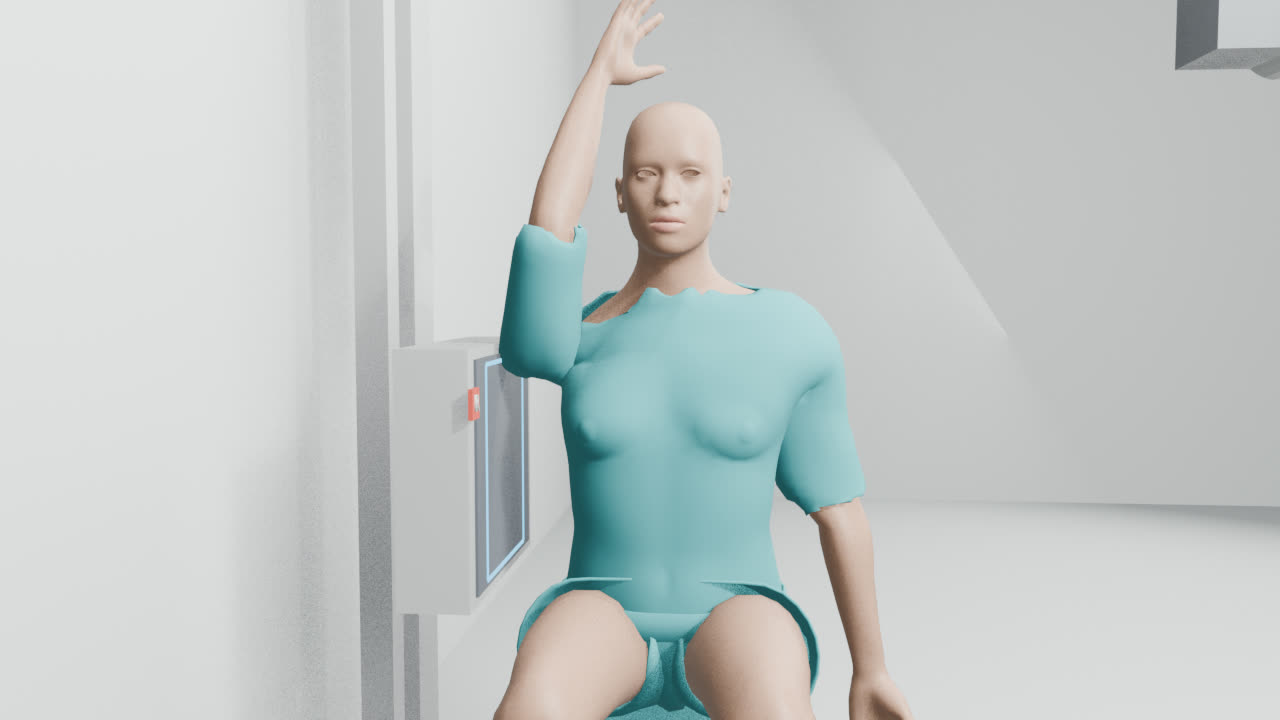
All views in this region
- Cervical spine AP
- Cervical spine lateral
- Cervical spine AP (after injury)
- Cervical spine lateral (after injury)
- Cervical spine lateral in extension
- Cervical spine lateral in flexion
- Cervical spine oblique
- Cervicothoracic lateral (swimmer's)
- Odontoid (open mouth)
Quick reference
Where to centre, how far and which receptor, for every c-spine view at a glance. Open a guide for the full set-up.
| Projection | Centre on | SID | Receptor | Breathing |
|---|---|---|---|---|
| Cervical spine AP | the thyroid cartilage | 110 cm | 18×24 portrait, grid | Suspend respiration |
| Cervical spine lateral | C4, at the level of the thyroid cartilage | 150 cm | 18×24 portrait, grid | Suspend respiration |
| Cervical spine AP (after injury) | the thyroid cartilage | 100 cm | 24×30 portrait, grid | Suspend respiration |
| Cervical spine lateral (after injury) | C4 | 150 cm | 24×30 portrait, grid | Suspend respiration |
| Cervical spine lateral in extension | C4 | 150 cm | 24×30 portrait, grid | Suspend respiration |
| Cervical spine lateral in flexion | C4 | 150 cm | 24×30 portrait, grid | Suspend respiration |
| Cervical spine oblique | C4 | 150 cm | 18×24 portrait, grid | Suspend respiration |
| Cervicothoracic lateral (swimmer's) | C7/T1, just above the near shoulder | 150 cm | 24×30 portrait, grid | Suspend respiration |
| Odontoid (open mouth) | the centre of the open mouth | 100 cm | 18×24 portrait, grid | Suspend respiration |
Mistakes that lead to repeats
- Mandible over C3 on the cervical spine AP: raise the chin to bring the jaw and occiput level.
- C7 hidden by shoulders on the cervical spine lateral: add weights or a swimmer's view.
- Neck moved on the cervical spine AP (after injury): image as found; follow the doctor's instruction.
- C7 not shown on the cervical spine lateral (after injury): pull the arms down or add a swimmer's view.
- Occiput cut off on the cervical spine lateral in extension: open the field upward.
- Foramina closed on the cervical spine oblique: rotate to 45°.
Common questions
- Which C-spine views are routine?
- Usually Cervical spine AP and Cervical spine lateral.
- What distance (SID) do C-spine X-rays use?
- Anywhere from 100 to 150 cm, depending on the view. Each guide gives the exact figure.
- Do C-spine X-rays need a grid?
- Yes, every view here is taken with a grid.
Try it in ScanFlo: the ScanFlo XR X-ray Room, coming soon, lets you set up every c-spine projection in a 3D room and score your positioning. See ScanFlo XR →